Now, here's a dish to get excited about making in the comfort of your own home! For such an iconic Thai dish, there sure is a lot of really horrible pad thai out there. I mean, really horrible. In fact, I often don't order it when I'm out because it's such a crap shoot whether it will be worth eating. Fortunately, it's really not that hard to make it at home. In fact, if you buy ready-made tamarind pulp, it's not hard at all, and you can whip some up in no time flat.
However... I am going to show you "the hard way" for one reason only. What if you can't find prepared tamarind pulp in your local grocery? Case in point: where we live now, I can easily purchase all the other required ingredients (fish sauce, palm sugar, and chile paste) at my local grocery, but I can only buy whole tamarind seed pods there. To get the prepared pulp (sometimes called tamarind paste), I would have to drive over thirty minutes to the appropriate grocery. The good news is that "the hard way" really isn't that hard. It's a little strange looking. Maybe even a little funky smelling, but not that hard.
To prepare your own tamarind pulp to use in this recipe and others, peel the crunchy pod off and strip off the funky long "strings". I know I had a picture of that here somewhere, but - for some reason - I can't find it right now. If you've never shelled tamarind before, the first time you do, you'll go, "Ahhh, yes. Funky stringy things!" Then soak the seeds in room temperature water for at least four hours, stirring and mashing periodically. To obtain a pulp with the right consistency, I use a ratio of 6-7 ounces shelled tamarind pods to 3/4 cup water. (The bowl in this picture has more water than I just recommended). They'll start out looking like this.
When they're ready to strain, they'll look more like this:
You don't have to get every last bit of flesh off the seeds, which are surprisingly large. Just be sure to use a fine meshed sieve. I found it easiest to use a rubber spatula to press the pulp through.
The result should look like this: dark copper in color and thick and creamy looking. It will smell... odd. Kind of sour and funky, but that's where you get the piquant edge that makes pad thai so good.
If you are lucky enough to have the appropriate ethnic grocery around the corner or a really well stocked neighborhood grocery, ignore the previous steps and start along with us here. To make the sauce, measure the ingredients either with a scale (my preferred method in this case, as it is a lot less messy) or with conventional measuring spoons/cups.
Heat the mixture gently in a sauce pan, just until the sugars are dissolved. Remove from the heat and cool. This recipe makes one cup of sauce, which makes one four person serving with a little left over. Double or triple the sauce recipe if you want to prepare more. This is a beautiful sauce once it's prepared. I wouldn't recommend sticking your nose in it too far. The tamarind is funky enough, but, remember, fish sauce is best tasted and not smelled!!! I like to make the sauce in advance and then I can store it in the refrigerator for up to a week before using it.

The only other "tricky" part of this recipe involves the noodles. You want to purchase 3 mm rice stick. To prepare it for cooking, simply soak it in room temperature water until it is just pliable, maybe 20-30 minutes. I usually start my noodles soaking and then do all my prep work of cutting and chopping. Typically, the noodles are about ready not too long after I've finished. You want to be careful not to soak the noodles in water that it too warm, because they can become overly soft and sticky. Yuck!
By the way, I give a range for the number of eggs to use for a four person serving as 2-4 because, well, it's a matter of personal preference. I really like the egg in this kind of dish (I'm the same way with fried rice), but not everyone feels that way.
Pad Thai
Adapted from She Simmers
Yield: 4 servings
To Make Your Own Tamarind Pulp:
6-7 ounces shelled tamarind pod
3/4 cup room temperature water
The Sauce:
75 g / 1/3 cup tamarind pulp
90 g / 1/3 cup fish sauce
75 g / 1/2 cup palm sugar
20 g / 1 rounded TBS brown sugar
20 g / 1 TBS chili paste (sambal oelek)
For Each 4 Person Serving:
1/4 cup vegetable oil
8 oz 3 mm rice stick noodles
2/3 cup pad thai sauce
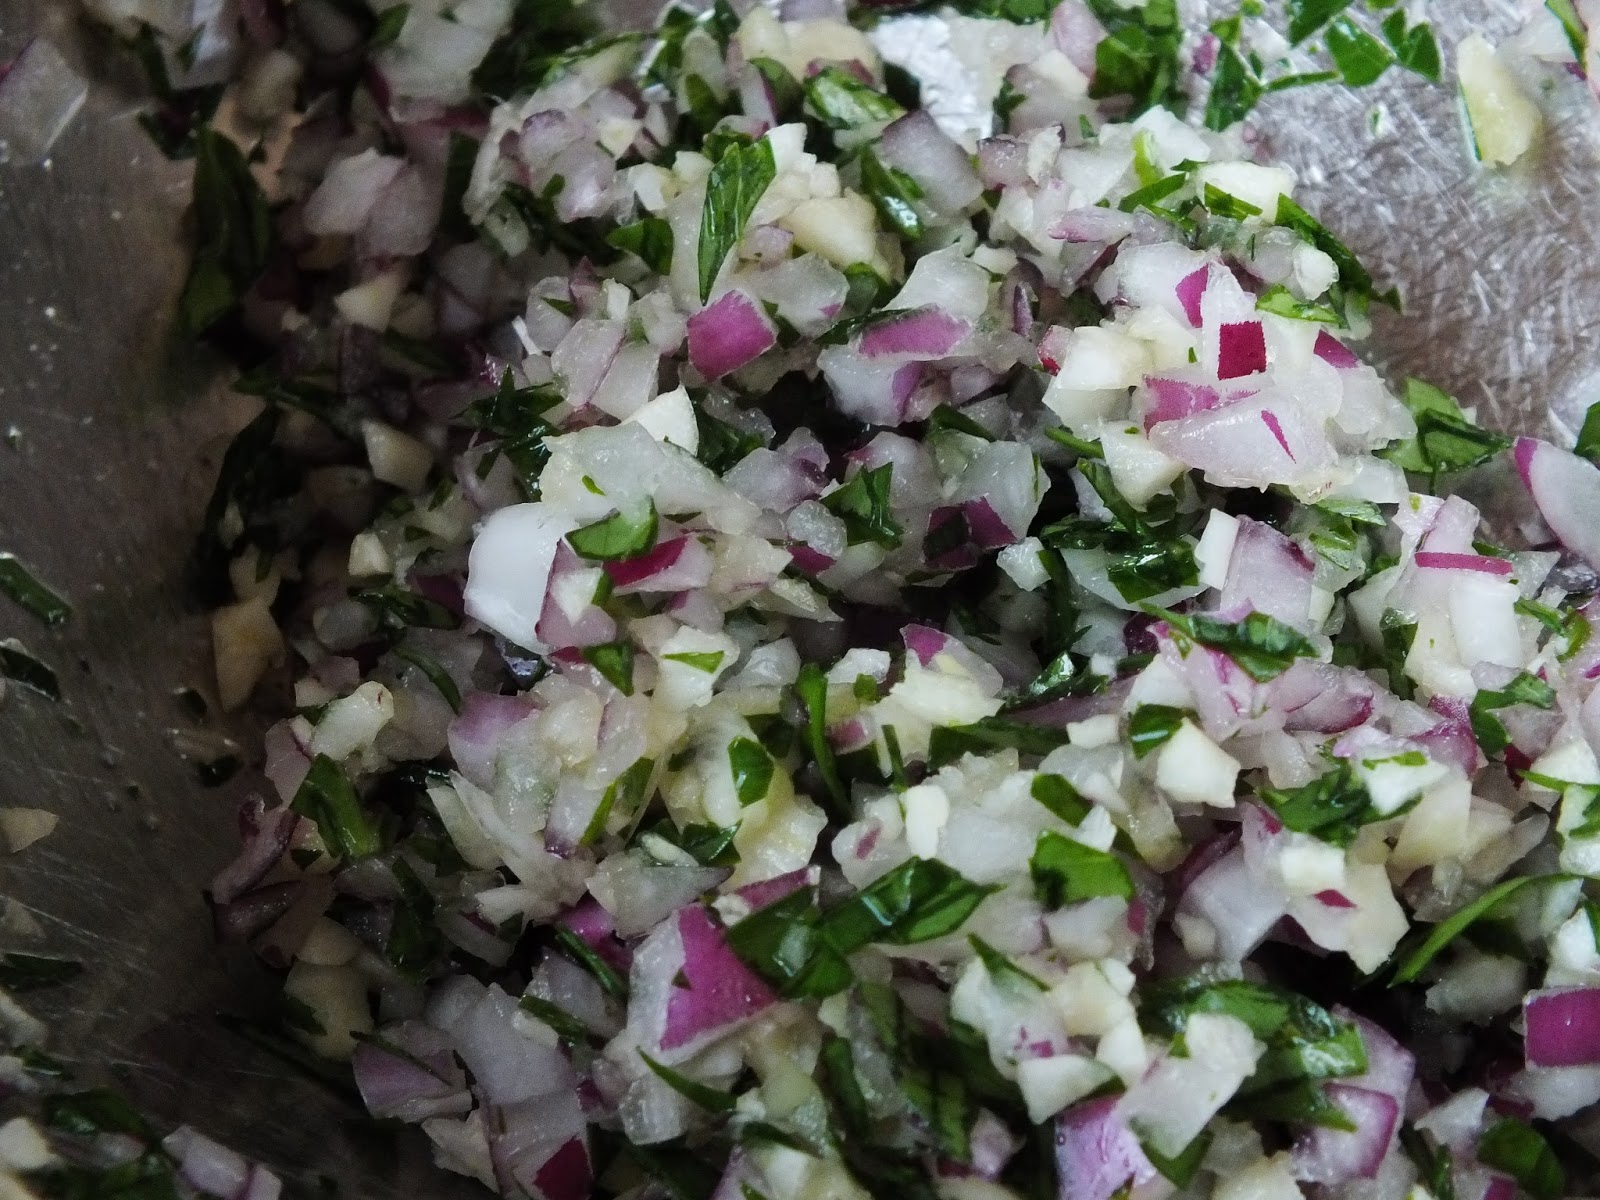
2 cloves garlic, minced
1 large shallot, minced
2-4 eggs, lightly beaten
2 cups fresh mung bean sprouts
To prepare the sauce, mix all the ingredients together in small sauce pan and heat just until the sugars are dissolved. Remove from the heat and cool. If you need to prepare your own tamarind pulp, let the pods soak in the water for four hours and then press through a fine meshed sieve. See the tutorial above for more details.
Soak the rice noodles in room temperature water until they are just pliable, about 20-30 minutes. Drain the noodles in a colander and let drip until you are ready for them. Heat a large, flat bottomed skilled over medium heat. Add just a few drops of the oil and cook the scrambled eggs until just done. Remove from the pan and set to the side. Now turn the heat up to medium-high. Add the rest of the oil and let it heat until it starts to shimmer. Add the shallot and garlic, stirring until they begin to soften. Add the noodles and the sauce and stir-fry until the noodles are finished cooking (it takes just a minute or two). It's easiest to tell when they are done by tasting one. They should still have a slight bite to them. Add the sprouts, tossing to mix and then remove the pan from the heat. Add the egg and serve immediately. Garnish with lime and chopped peanuts.